How to Iron On Patches: A Step-by-Step Guide
Wild and WillyShare
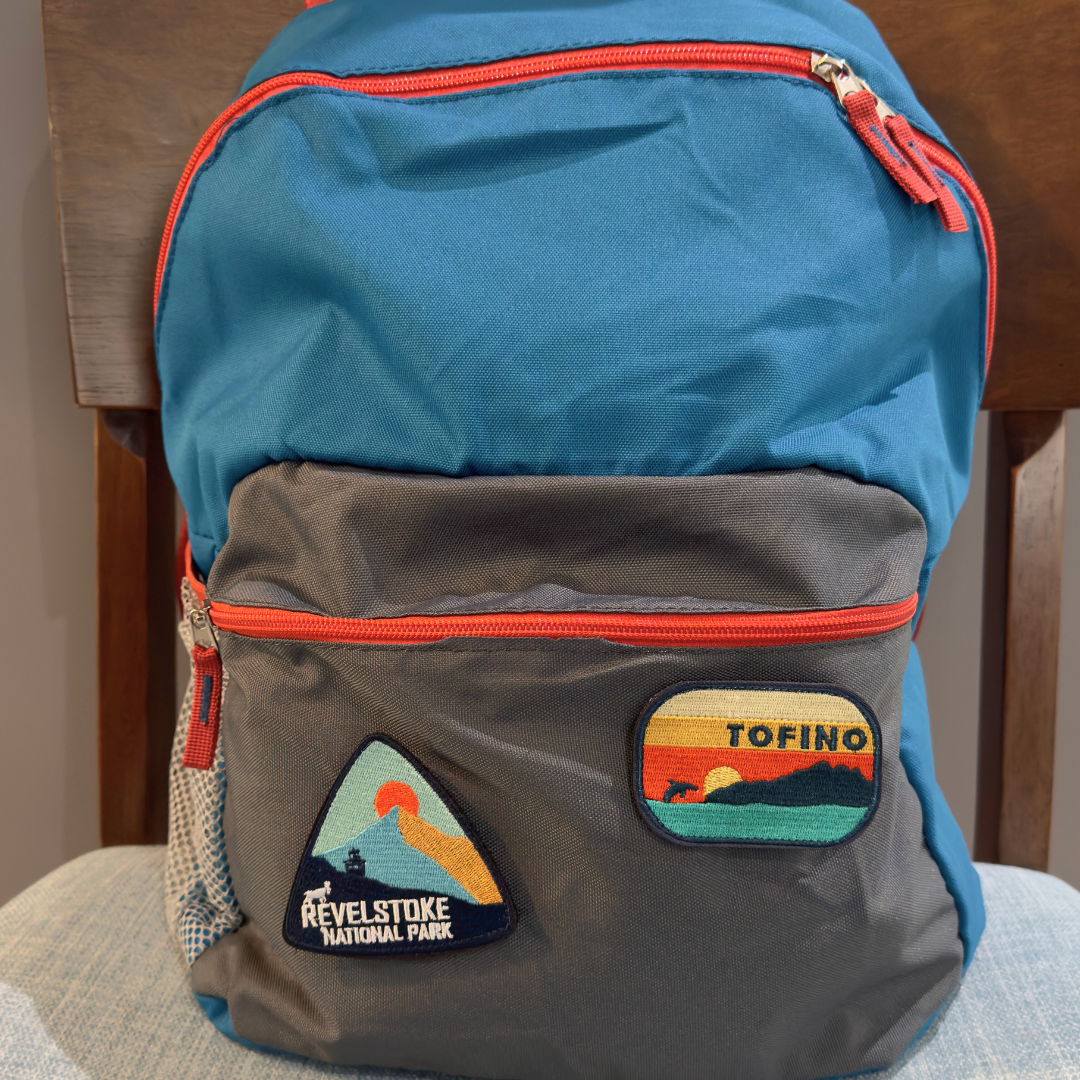
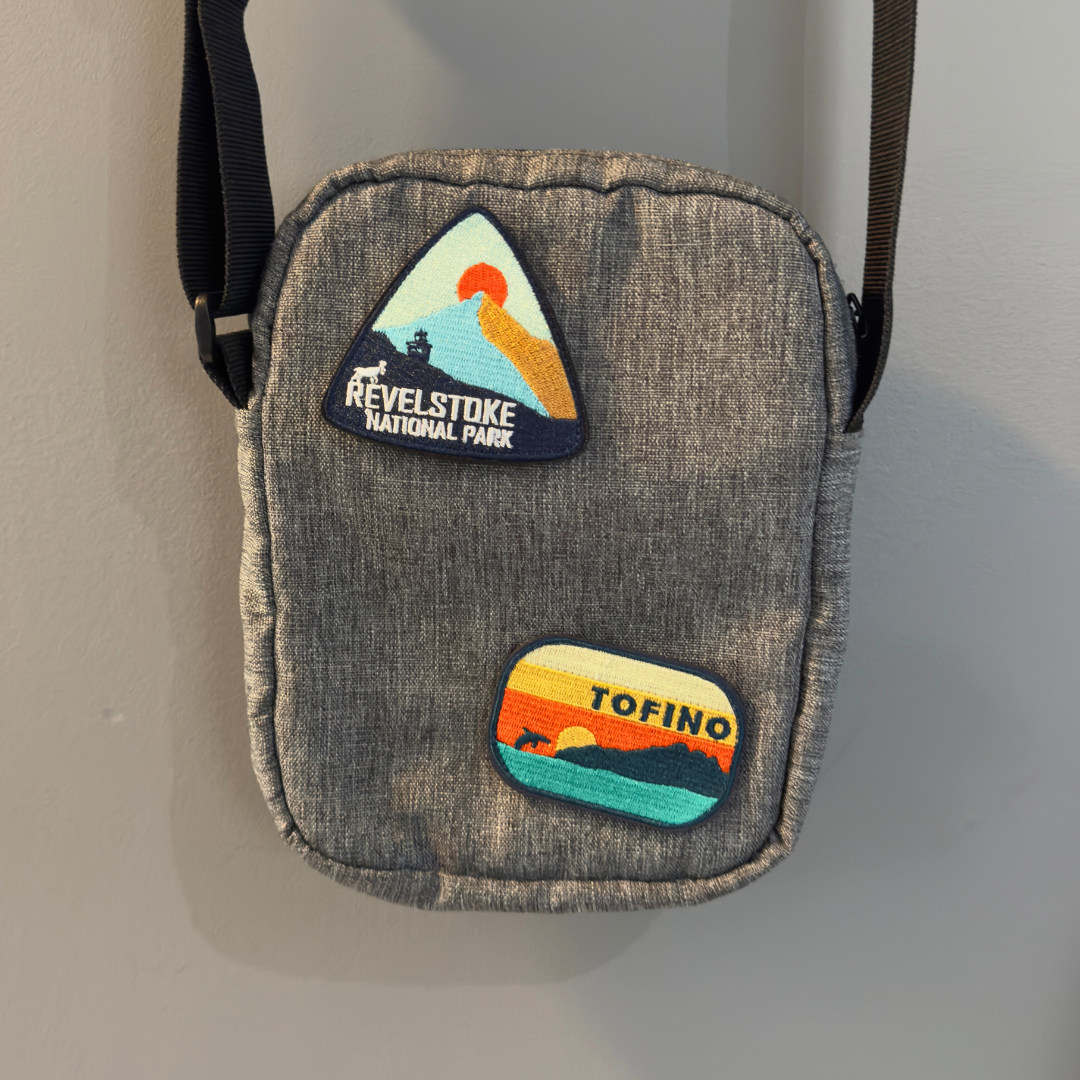
Iron-on patches are a fantastic way to personalize your clothing and accessories with your favorite designs. Whether you’re adding a patch to a jacket, backpack, or tote bag, this guide will walk you through the process to ensure a smooth application. At [Your Company Name], we offer high-quality iron-on patches that are perfect for customizing your gear. Follow these simple steps to get the best results!
Materials You'll Need:
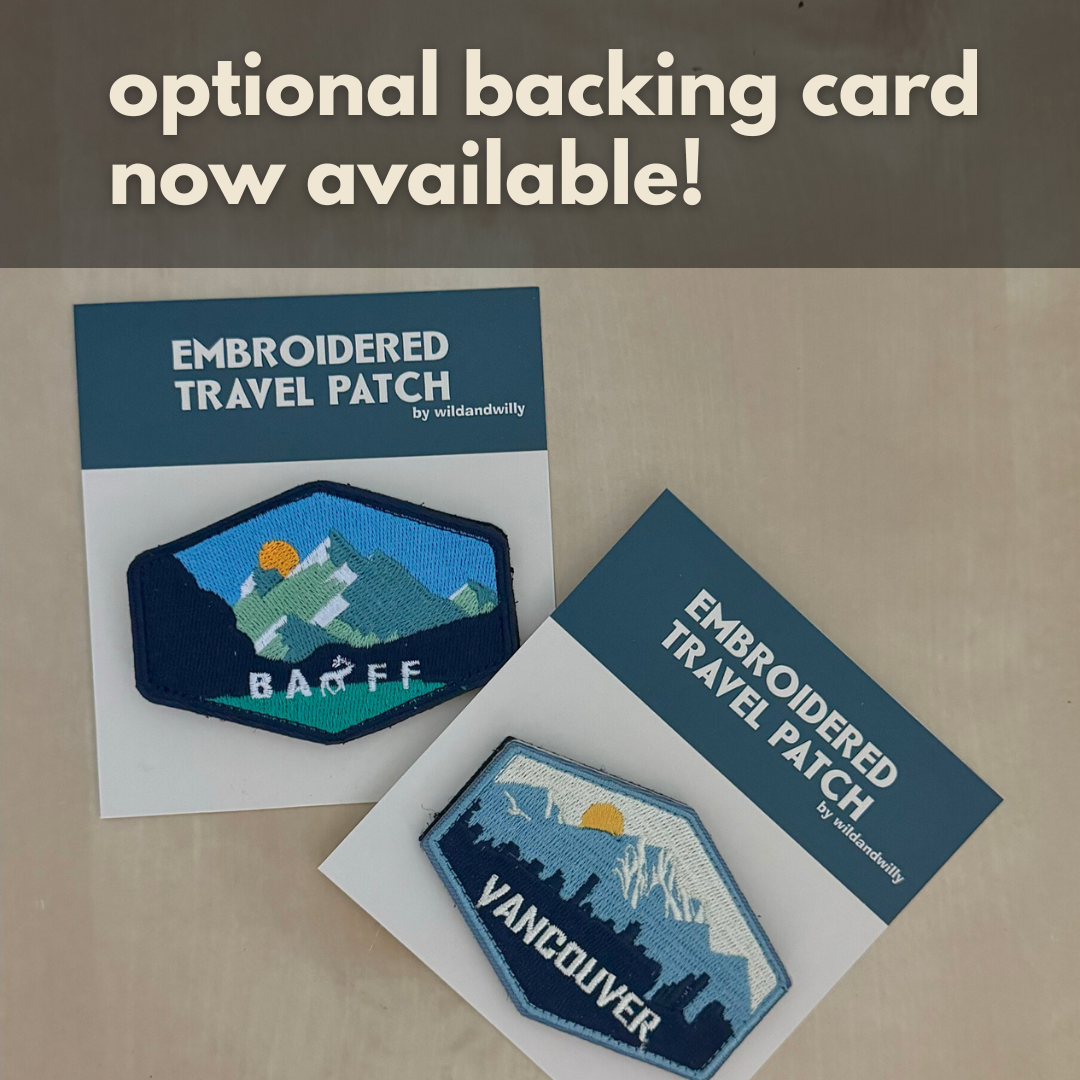
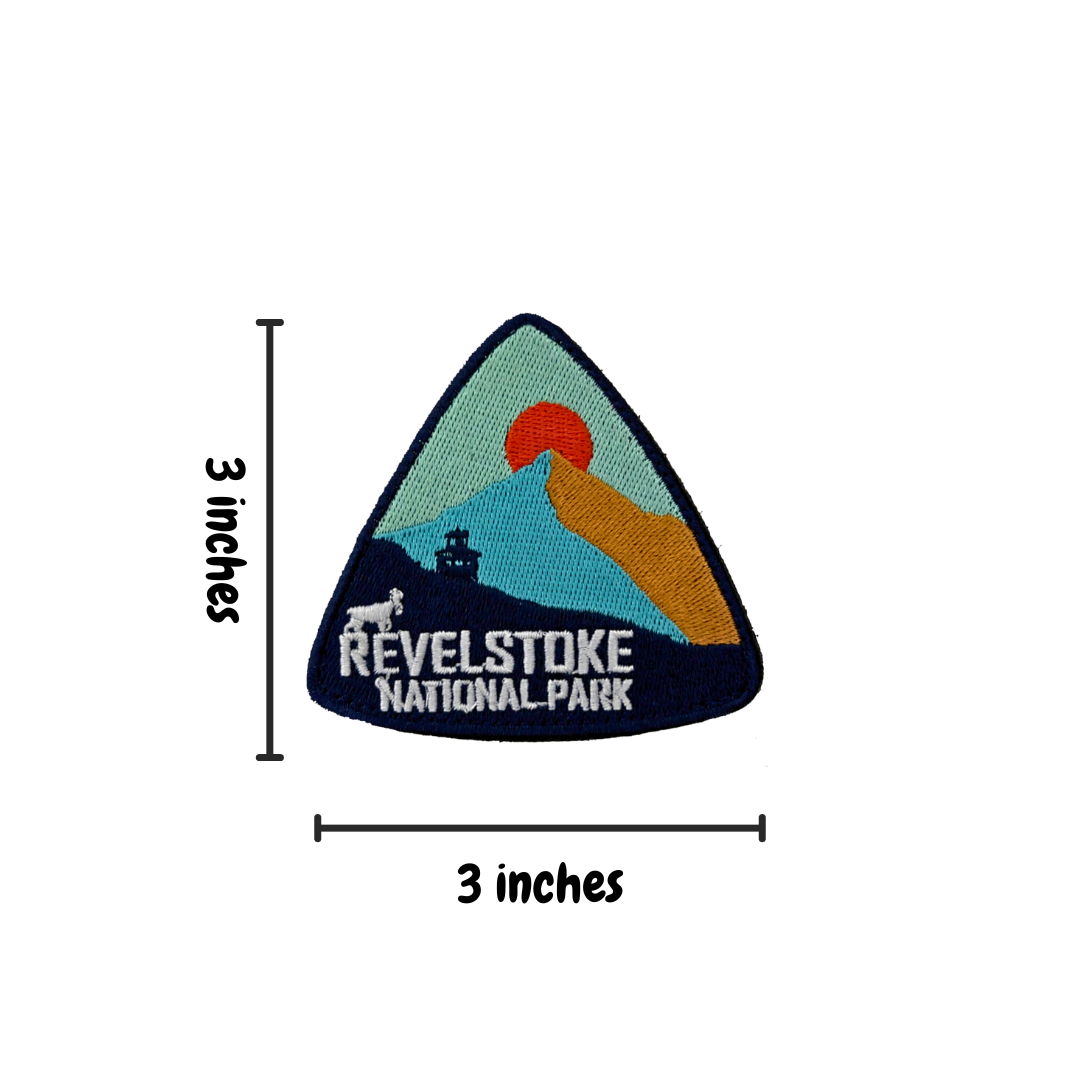
- Iron-On Patch: Choose your favorite patch from our collection.
- Garment or Item: The fabric you wish to apply the patch to.
- Iron: A standard household iron with a heat setting.
- Ironing Board: Or a flat, heat-resistant surface.
- Thin Cloth or Parchment Paper: To protect your fabric and patch during ironing.
Step-by-Step Instructions:
1. Prepare Your Surface:
- Set up your ironing board or a flat, heat-resistant surface. Ensure the surface is clean and free of any dust or debris.
2. Preheat the Iron:
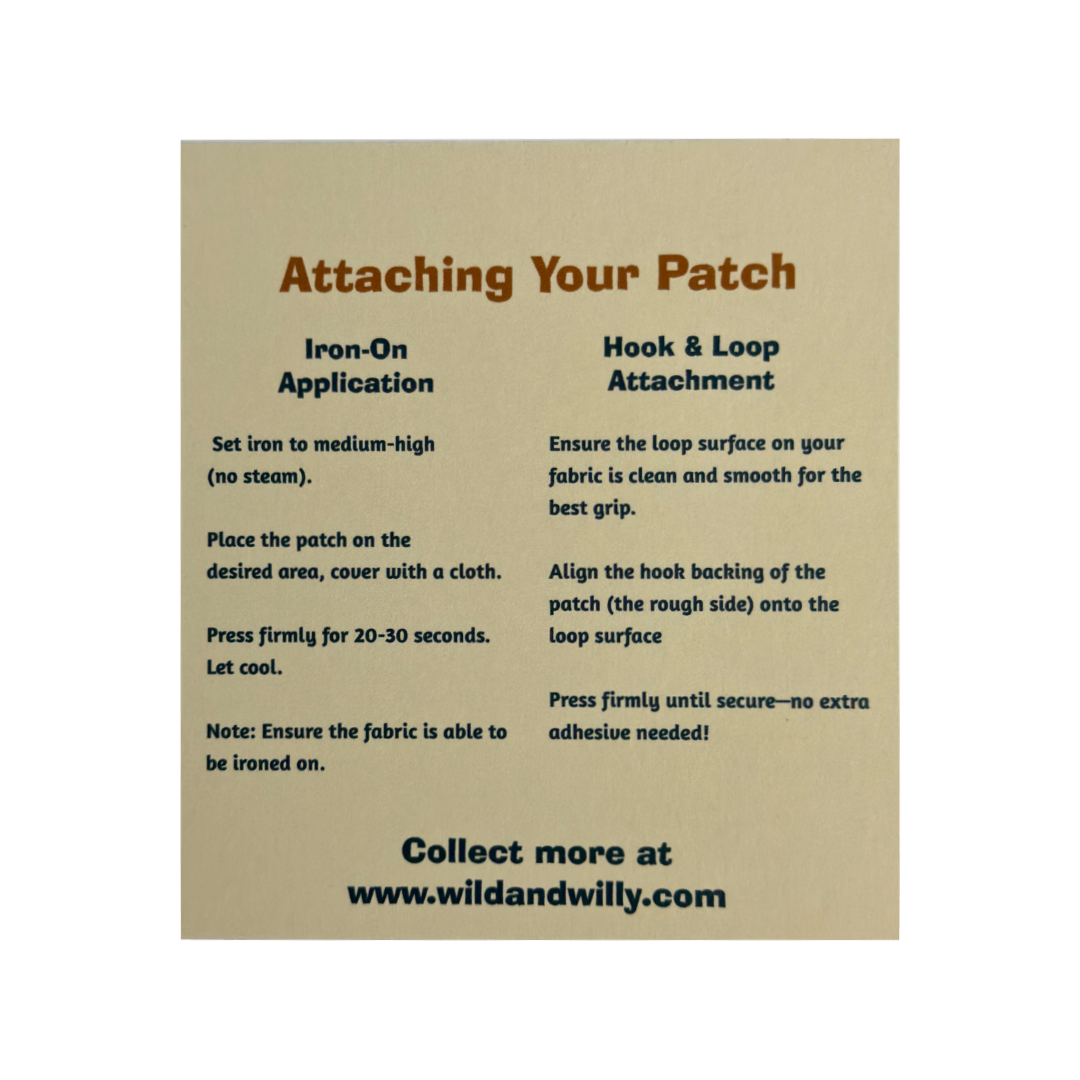
- Turn on your iron and set it to the cotton or high heat setting. Avoid using steam, as it can interfere with the adhesive.
3. Position the Patch:
- Place your garment or item on the ironing board. Position the patch on the desired area with the adhesive side facing the fabric.
4. Protect the Patch:
- Place a thin cloth or parchment paper over the patch. This will protect both the fabric and the patch from direct heat and prevent any burning or scorching.
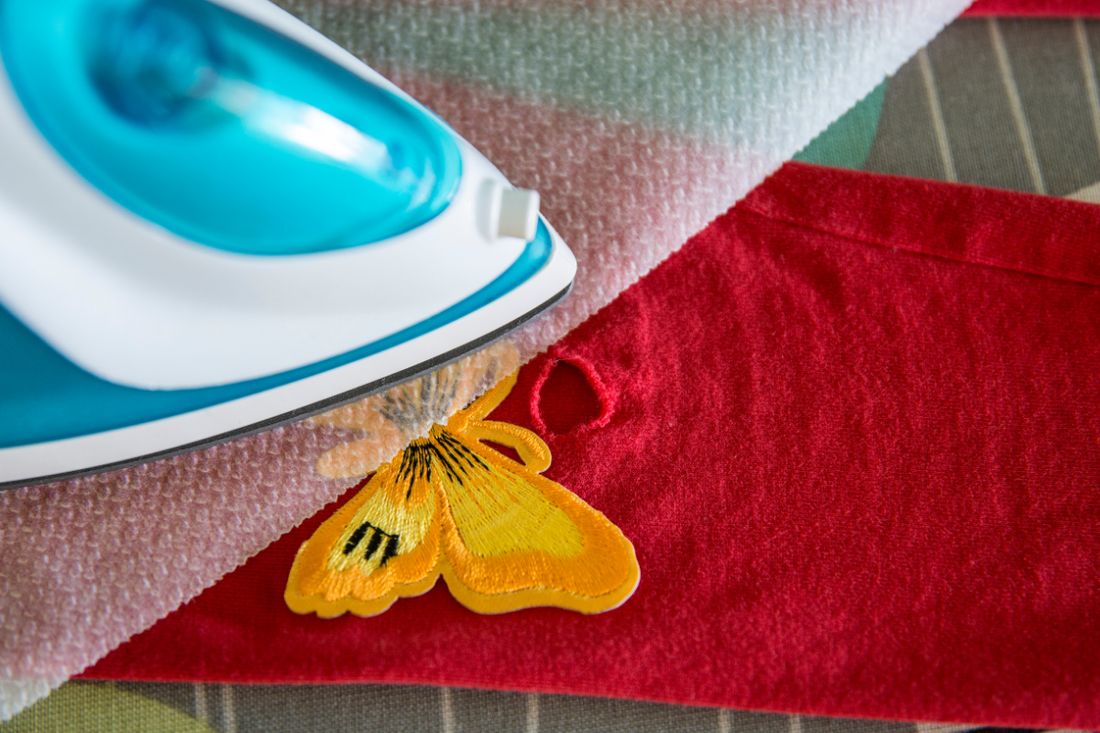
5. Iron the Patch:
- Press the iron down firmly on the patch, making sure to cover the entire area. Hold the iron in place for about 30 seconds to 1 minute. Apply steady, even pressure to ensure that the adhesive melts and bonds properly.
6. Check the Adhesion:
- Carefully lift the cloth or parchment paper and check if the patch is securely attached. If the edges lift or the patch isn’t sticking, repeat the ironing process for another 20-30 seconds.
7. Let it Cool:
- Allow the patch to cool completely before handling. This will help the adhesive set and ensure a strong bond.
8. Final Touches:
- Once cooled, check the edges of the patch. If necessary, you can iron the edges again for a more secure application.
Tips for Best Results:
- Pre-Wash Fabric: Wash and dry your garment before applying the patch to remove any sizing or chemicals that might interfere with adhesion.
- Avoid Steam: Ensure your iron is set to a dry heat to avoid steam, which can affect the adhesive.
- Test First: If you’re unsure about the heat setting or fabric compatibility, test the process on a small, inconspicuous area first.
- Care Instructions: After applying the patch, turn the garment inside out before washing to preserve the patch’s adhesion.
Why Choose Our Patches:
Our iron-on patches are designed for durability and ease of application. With vibrant designs and high-quality materials, they’re perfect for adding a personal touch to your wardrobe or gear. Explore our collection and find the perfect patch to express your style!
Ready to start customizing? Visit Wild and Willy to browse our range of iron-on patches and elevate your style with unique designs.
Happy Crafting!